
I tested the new Aircurler from Mermade and here are my thoughts
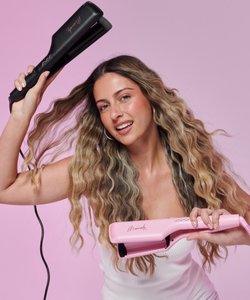
…So I just tested the new Mermade Aircurl for the first time and I am so impressed!
If you’ve been scrolling on TikTok recently and your FYP page is anything like mine… you’ve probably seen a bunch of hair-care/ scalp care videos. All of a sudden, hair-oiling, rosemary oil and microfibre towels are being recommended to me everywhere.
And I’d be lying if I said it hasn’t had an impact on me because now I am so conscious of my hair health. I dye my hair red quite frequently and I’ve definitely noticed the change in my hair health, so I’ve been trying to use way less heat on my hair.
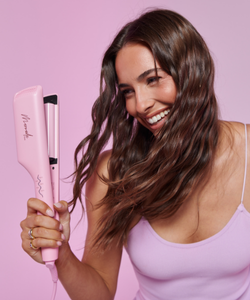
…That’s where the Aircurl comes in! Aircurl uses innovative air technology to curl hair, rather than relying on extreme heat. This means Aircurl can curl hair effectively at lower temperatures. Many other hair tools on the market reach up to 220°C, compared to Aircurl which has a maximum temperature of 125°C. It’s a healthier way to style your hair and your locks will thank you for it!
Not to mention, the Aircurl gave me that salon blow-out at home and added so much volume to my normally flat my hair.
So here’s how I used it:
1: PREP
The Aircurl can be used on dry hair to freshen up your style, but I like to use it on damp hair that is almost dry. After washing my hair, I go in with the Mermade Styling Primer which helps to protect my hair, keep it tangle-free, and speed up drying time. I comb it through and allow my hair to air dry, to the point that my roots are dry and ends are slightly damp.
When I’m in a hurry I give my hair a quick blast of the blow-dryer, but still so the roots are dry and ends are 80-90% dry.
2: SECTION HAIR
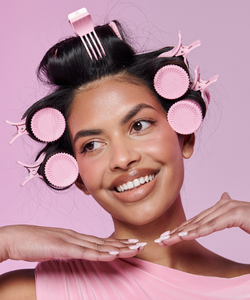
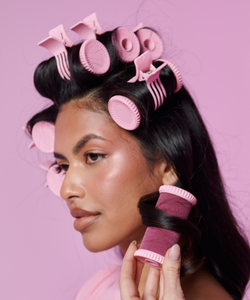
Next I like to section my hair using the Grip Clips. The smaller the section, the more defined your curls will be.
3: CURL AWAY ;)
Taking your first section, clamp the end and twist to wrap your hair around the barrel - like a normal curler. Alternatively you can just wrap your hair around the whole barrel and clamp if you prefer.
After your hair is wrapped, select either low, medium or high heat. Hold this for up to 10 seconds or until your hair is completely dry then turn it off. Unwrap and unclamp to release and voila! One voluminous curl.
You can go back over the same section if the hair isn’t quite dry, or you want even more defined curls. Then repeat this all around your hair. For the front sections, I like to curl away from the face, as this frames the face nicely.
MELODY’S CURLING TIP:
So, I have a bit of a different curling method using the different heat settings that I’ve found works best on my hair, which may work for you too.
I start with the Aircurl on the medium setting and clamp and wrap my hair like normal.
Once my hair is wrapped up, I then switch to the high setting for 6 seconds or so, or until my hair is completely dry. Then, I switch it to the low setting for 3-4 seconds to cool-set the curl.
Then release your hair and you should have a voluminous, bouncy curl.
4: STYLE & SHINE
If you’re after more defined curls, I would recommend going in with hairspray to set the curls. However, for that effortless looser curl, gently brush through your hair with your fingers or a Wave Comb. I like to finish with the Super Serum to smooth my hair and keep my ends hydrated.
…and there you have it, voluminous curls at home! This is now my go-to healthy styling tool and it’s so easy to use! Oh and did I mention it’s only $99? Yep, you heard me! Just in case you needed another reason to try the Mermade Aircurl.




Leave a comment
This site is protected by hCaptcha and the hCaptcha Privacy Policy and Terms of Service apply.